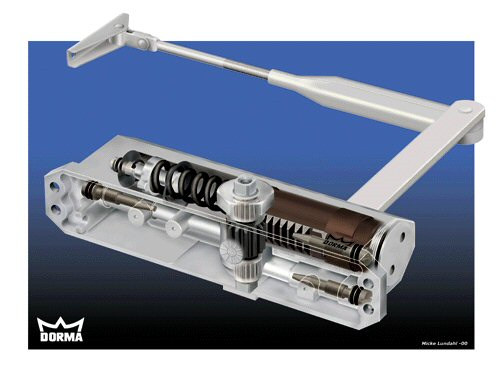
The internal parts of a door closer consist primarily of a main spring working in conjunction with hydraulic fluid. The fluid’s job is to counterbalance the spring and prevent it from slamming the door shut on it’s own.
Valves inside the closer body act as a governor on the spring by restricting the flow of fluid. These valves may be adjusted to increase or decrease the closing speed. If you were to open the main valve all the way up the door would slam closed.
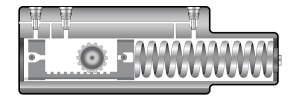

Some closers come with three valves, others only two.
[1] Latching Speed – The very last portion of closing the door often requires an extra bit of closing power to overcome air pressure forces.
[2] Swing Speed – The majority of the door closing arc.
[3] Back Check – Not standard on all closers, the back check feature provides a cushion between the door and the wall should someone swing the door open too fast.
Adjusting the valves is easy, accomplished by using either a flat head screw driver or hex key depending upon the manufacturer.
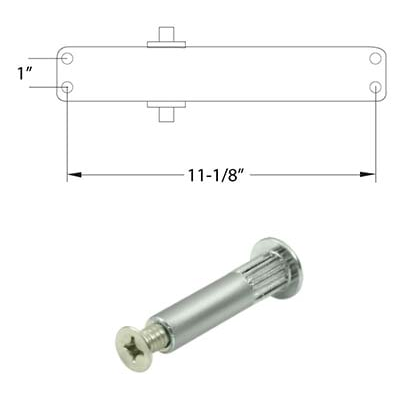
To order a door closer begin by considering the bolt hole pattern desired. This is especially important when mounting the closer to the door frame, or when replacing an existing closer. Measure holes center to center.
Also consider if you will be using screws to mount the closer or if you will need through bolts, also called sex bolts.
Lastly, determine if you require an option such as the hold-open feature.
Some options available with door closers have to do with specialized arms and are not related to the door closer body itself.